Skip to product information
Online Foundation Course
1/4
£99.00

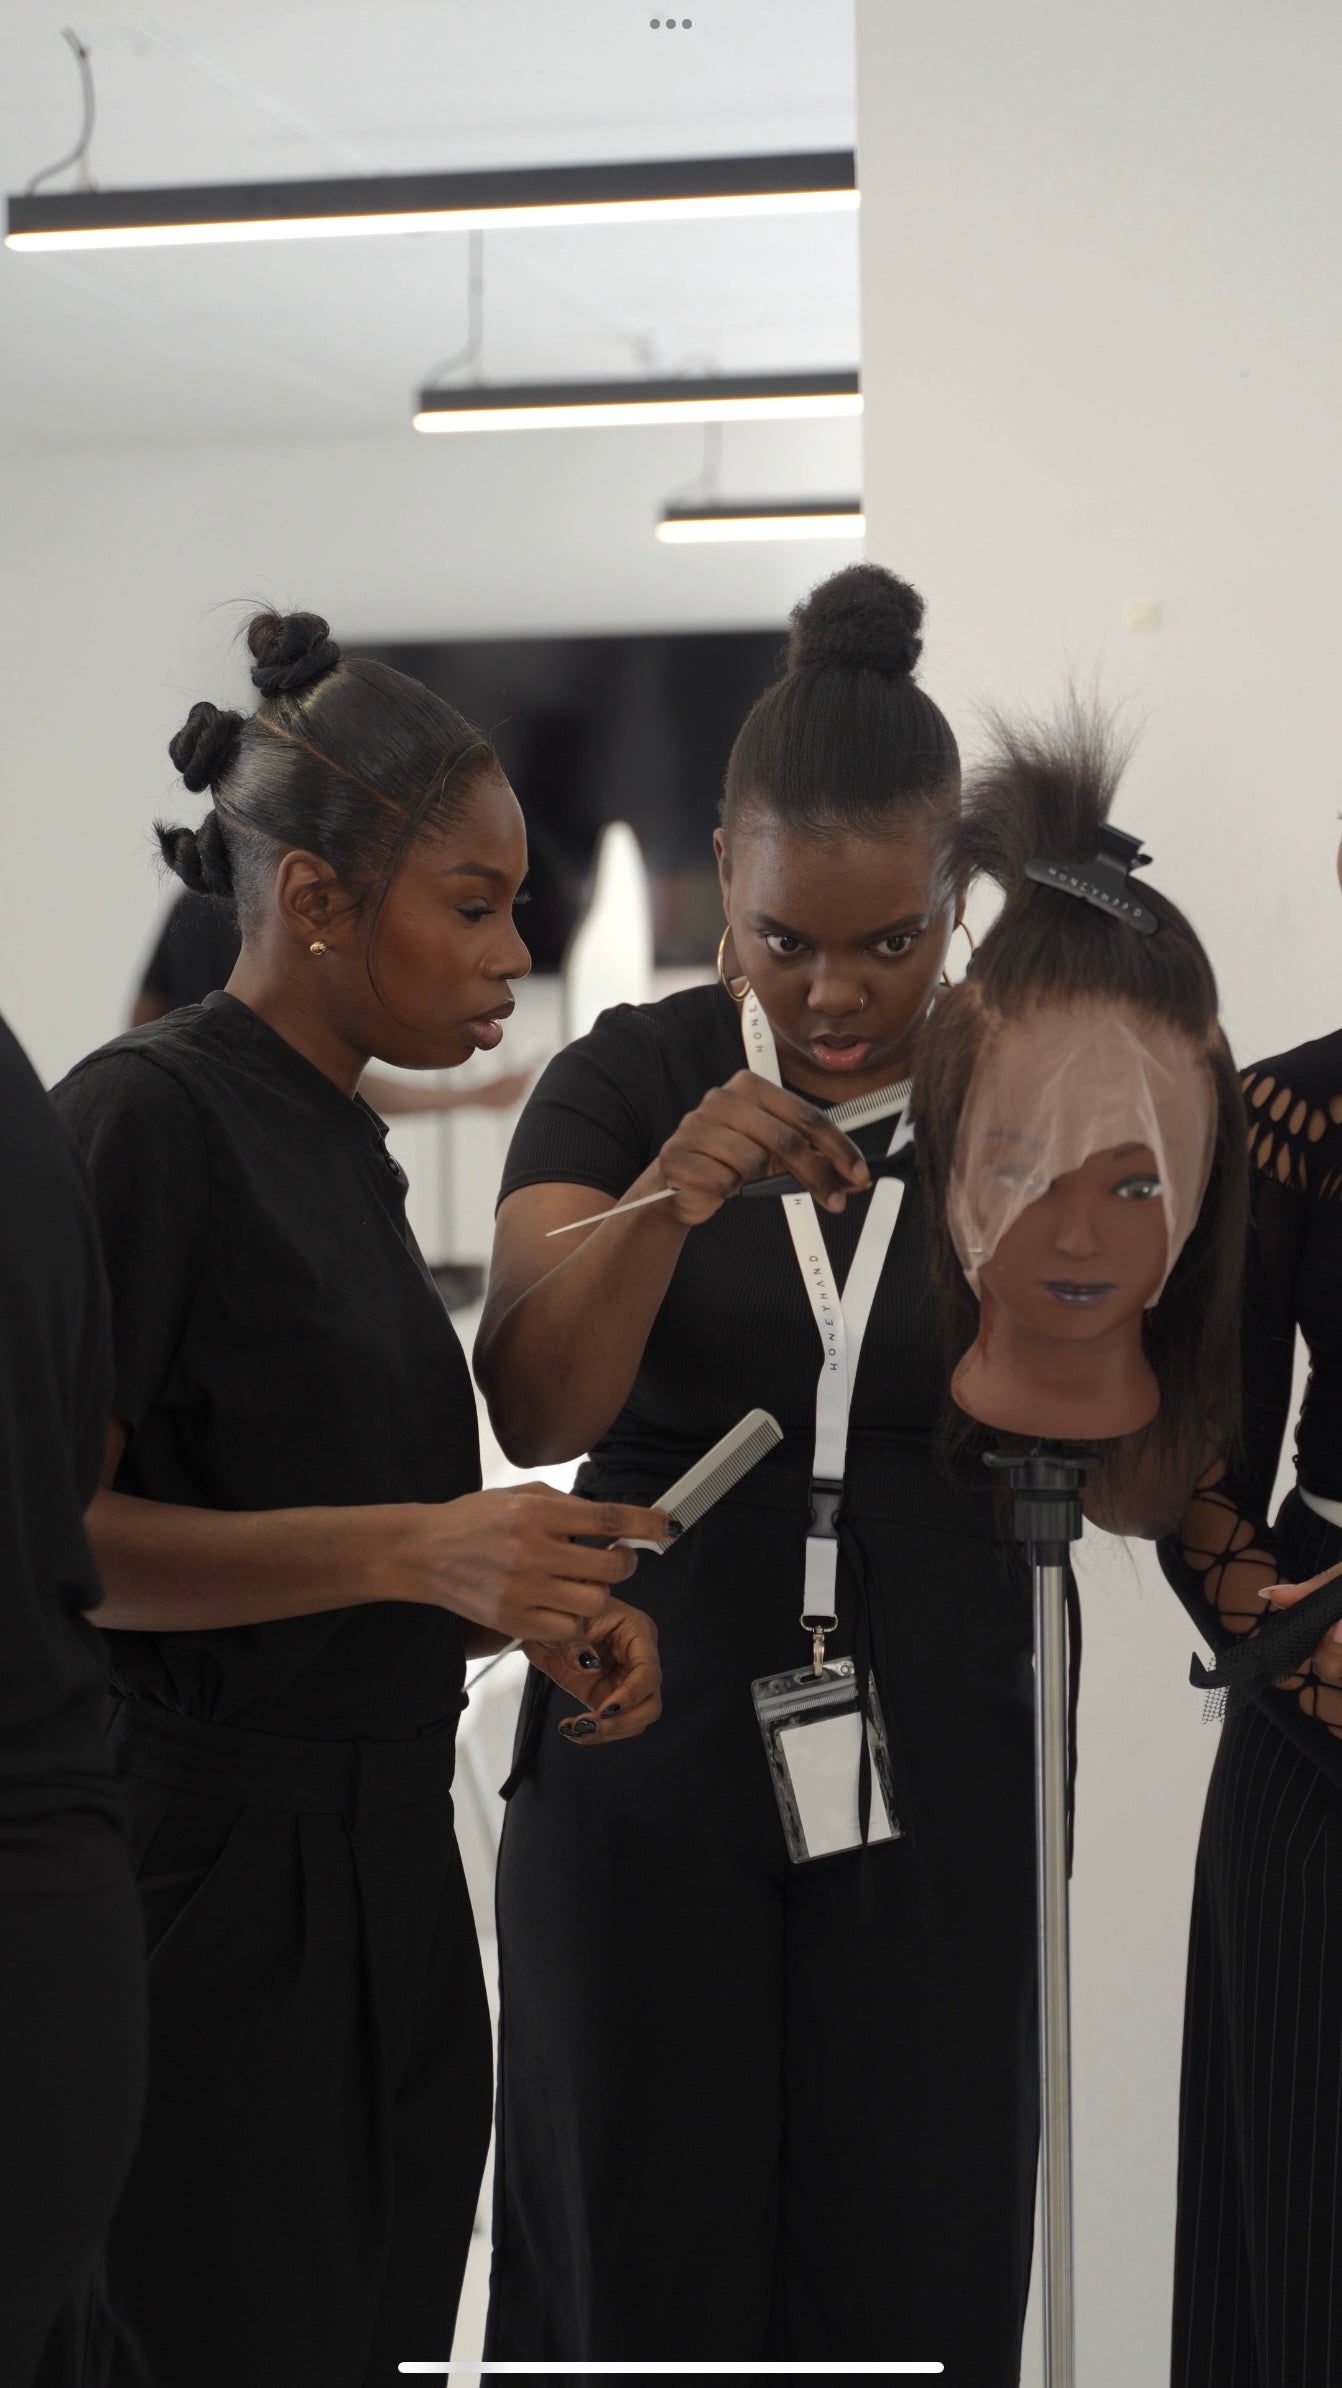
A pixie is a very sought after hairstyle in the hair industry, but many clients hesitate to relax or cut their natural hair to achieve it. This is where the artistry of pixie wigs comes in. A well constructed pixie wig offers the same look while keeping the client’s natural hair protected.

Over the years, I have mastered a system for creating pixie wigs that are flat, secure, and realistic. It has become one of my most requested styles, and in this course, I will show you the exact steps I use to achieve it. From preparing the foundation and bleaching knots, to track placement, molding, cutting, and styling, you will learn each stage clearly, along with why it matters to the final result.

This course is designed for both beginners and experienced stylists. By the end, you will understand my full method and have the confidence to recreate this pixie style for your own clients.

Revisit lessons anytime within your access period. Learn at your own pace, refresh your skills when needed, and make the most of every module.

0:00 / 0:00
1
Welcome
A warm welcome from our founder, Hannah Ayegbusi, introducing the vision and approach behind this course.
2
Essential Tools for Wig Construction
A breakdown of the tools and items needed to create our glueless pixie wigs. Any items not shown in the video are listed in the attached PDF, complete with links for easy access.
3
Bleaching Knots
Learn how to bleach the knots of the closure using peroxide and bleach powder. This step enhances the scalp like feature, giving your pixie wig a more natural look.
4
Preparing the Wig Foundation
Creating the base needed to build your pixie wig. We’ll use cling film and a stocking cap to create a secure foundation.
5
Closure Installation
In this section, we cover closure placement and color matching, ensuring the closure blends with the client’s skin tone.
6
Mapping Out Track Placement
Using chalk to map out track placement, you’ll gain a clear understanding of placement strategy crucial for achieving the right balance, and volume.
7
Sewing Tracks
Here we are stitching tracks to the cap using a needle and thread.
8
Cutting
A simple, beginner friendly cutting technique using a razor comb to shape your pixie wig.
9
Moulding
Learn how to use mousse to mould the pixie into the desired shape and style, creating the perfect canvas for finishing touches.
10
Straightening
Using pencil straighteners to refine and smooth the pixie cut, adding definition and sleekness.
11
Defining the Final Pixie Cut
This is where everything comes together. We enhance the cut and refine the details. The results speak for itself.
How long does the course take to complete?
The course typically takes 4-6 weeks to complete, depending on your pace and schedule
Do I need any prior experience?
No prior experience is required. This course is designed for beginners and intermediate learners
What materials do I need?
All course materials are provided digitally. You'll need a computer and internet connection
Is there a certificate upon completion?
Yes, you'll receive a certificate of completion after finishing all modules and assessments
Can I access the course on mobile devices?
Yes, the course is fully optimized for mobile and tablet viewing
What if I have questions during the course?
You can reach out to our support team anytime through the help section
Is there a money-back guarantee?
Yes, we offer a 30-day money-back guarantee if you're not satisfied
How often is the course content updated?
We update the course content quarterly to ensure it stays current
Can I retake the course if needed?
Yes, you have lifetime access and can retake any section as many times as needed